


Welcome to the Blog
Explore Blog Posts that showcase our work, our values, and our team

I am getting married in 44 days! As a bride to be, I know firsthand how difficult it can be to plan a wedding. It’s single-handedly one of the most emotionally and mentally draining tasks I have been faced with. Balancing work, relationships, and a wedding is not easy. The amount of minutia that goes into each decision is nothing short of overwhelming.
While I am finally in the home stretch, I can’t help but wonder, “What am I forgetting to do?” I’ve compiled a list of helpful tips and suggestions to make sure you don’t miss a thing!
- Make it legal. Yup, that’s right. As nice as it would be to stroll into your ceremony venue and simply say I do, it’s just not possible. You need the proper documentation. Often times marriage licenses are only good for a short window of time so be sure to obtain the license in the state you are getting married in an ample time frame.
- Organize your belongings. Whether your wedding is local or destination it is smart to create a checklist ahead of time outlining everything you will need. Giving yourself a few months is ideal as you are less likely to forget anything. Before the big day, make sure everything is organized and easy to find. This will save you a lot of stress on the big day.
- Check in with vendors. With all the back and forth you have endured during your engagement process there is bound to be some loose ends to tie up. Speak with each vendor and confirm your final payments and make sure they have everything they need.
- Tips! You do not want to forget to tip your vendors. They too have put a lot of time and energy into your wedding and should be rewarded. Do your research and figure out the proper amount to tip each vendor.
- Check in with your bridesmaids. Throughout this process you will have done a lot of delegating and often fail to remember the simple tasks like ensuring the bridesmaids are informed. Make sure the bridesmaids understand the timeline for the weekend as well as any additional details they may need to know.
- Pack an emergency kit. Let’s face it. Something is bound to go array whether its big or small so be prepared. Creating a kit with items such as bobby pins, tide pen, hairspray, sewing kit, etc. will ensure you are ready to handle anything that may be thrown your way.
- Schedule your beauty appointments. Appointments such as nails, hair, skin, etc. should all be coordinated properly. You don’t want to have a facial too close to your wedding day and you also don’t want to schedule your nail appointment too soon.
- Welcome bags. If you are having a wedding out of town it is especially nice to treat your guests. These bags normally contain information on the area as well as treats and fun gifts. Give yourself ample time to make these bags and figure out a delivery plan.
- Playlist for getting ready. Before you walk down the isle you are going to feel anxious and overly excited. Having good music while you’re getting ready can really set the tone. Create a fun playlist and make sure you bring your speakers.
- Break in your shoes. If you are planning to wear heels it is smart to wear them around the house. Breaking your heels in will allow them to be more comfortable at the wedding. More dancing please!
- Pack for your honeymoon! If you are leaving right after your wedding you will want to make sure you have everything packed for your honeymoon. It is smart to also create a list of everything you will need to ensure nothing is forgotten.
I hope you find these tips and tricks helpful in the last few weeks of your wedding planning. It is always helpful to be prepared and organized. Just remember, planning a wedding is stressful, but it will all be so worth it in the end!
read full post >
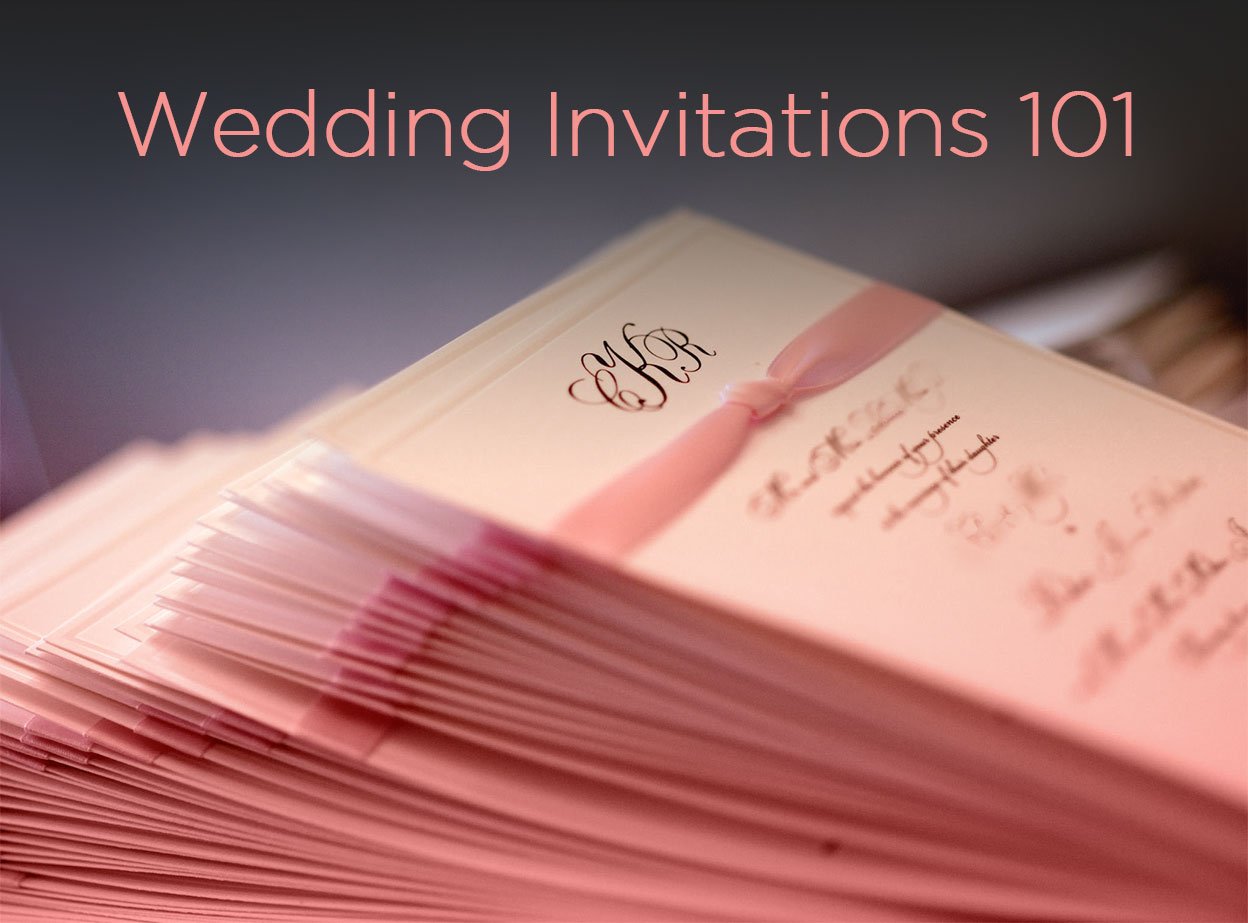
The wedding invitation is the first thing your guests will receive. The invitation dictates more than you may realize. Not only does it share factual information such as when and where, but it also conveys the look and feel of the day. This is portrayed through the aesthetics of the invitation: color, fonts, style, etc. With first impressions being everything, it is important to send an invitation that truly represents your wedding. Fortunately, there are many ways of obtaining and designing wedding invitations. Perhaps you are hands-on and want to go to a store; maybe you prefer to order online and keep things easy; or perhaps you’re a DIY kind of girl and wish to print or craft from home. All of these methods have their advantages and disadvantages and I’m here to break it down for you!
In Store Invitation
Living in an internet-consumed world, we often avoid going into stores to shop. However, physically going in and choosing your invitation has its perks. An appointment is set up for you to sit down with a professional to go over styles, content, and pricing. In store you are able to go through examples and actually feel the cardstock and see the invitation in person rather than guessing from behind a computer screen. The invitation specialists will help you choose the proper wording and give you expert advice. They will provide you with a proof and ensure your invitation is perfect. While this process is often more trouble-free and aesthetically pleasing, it can be quite expensive. Invitations made this way can cost you upwards of $900 without postage. The in-store option allows your invitations to be professional seamless; however this comes at a high price.
Online Invitation
It is safe to say that wedding invitations from stores such as Paper Source are truly elegant, however, some of us do not have the time or the budget. There are many websites such as “Wedding Paper Divas” and “Minted” that allow you to peruse and personalize hundreds of different types of invitations. This method can be very beneficial for those with less time because you can easily search by style, color, etc. Lets not forget about sales! Online invitation companies often run promos, which can help seriously cut down costs. Another perk is that you can easily be linked to matching stationary that you will eventually need such as table numbers, thank you cards, etc. Bottom line, ordering online allows you to choose from home with ease. While this sounds amazing, it is important to know it comes with some disadvantages as well. Unfortunately, you will not be able to physically see or feel the invite in person, nor will you have the professional guidance that you would in-store.
Digital / Paperless Invitation
With today’s amazing technology it is no wonder we are now able to send wedding invites digitally. This is a huge cost cutter as we completely cut out then need for supplies. Companies such as “Green Envelope” and “Paperless Post” are encouraging you to save money, time, and even the environment. This method still allows you to choose a design as well as colors and wording—just without a physical copy. The advantages are that you will save a lot of time and money; however this method may still be too modern for some of our elders. Weddings are meant to bring family and friends together and, while some of us are tech savvy, others are not and we would never want an invitation to not be received.
DIY Invitation
The DIY invitation is not the most common choice, however, if done correctly, it can really portray your style and wedding theme as a couple. There are many different ways of going about a DIY invitation. You may used mixed media or even handwrite! Doing it yourself allows the invitation to be exactly as you would like it. There are, unfortunately, more disadvantages than advantages in this scenario. ‘Doing it yourself’ can be very time consuming. Whether you are printing, cutting, painting, etc., it all takes a great deal of time and effort. You are also more likely to leave room for error. As much as we like to give ourselves credit, we are not robots, and this can result in costly slip-ups. Fortunately, there is another way of “DIY” that prevents many errors and saves a lot of time. Printing from home! Craft and paper stores often times sell blank invitations. What is neat about these is that you bring them home, log onto a website, choose a template and wording, and print! This spares you the expensive printing costs and saves the time of getting super crafty. The downfall to this method is the lack of expert advice, but fortunately it has more pros than cons.
There are MANY different avenues that you can choose from when preparing wedding invitations. The beauty is that certain routes are more advantageous to some than others. Determine a vision, set a budget, and establish a timeline. Once you have that completed, you will know which invitation method best suits you.
read full post >
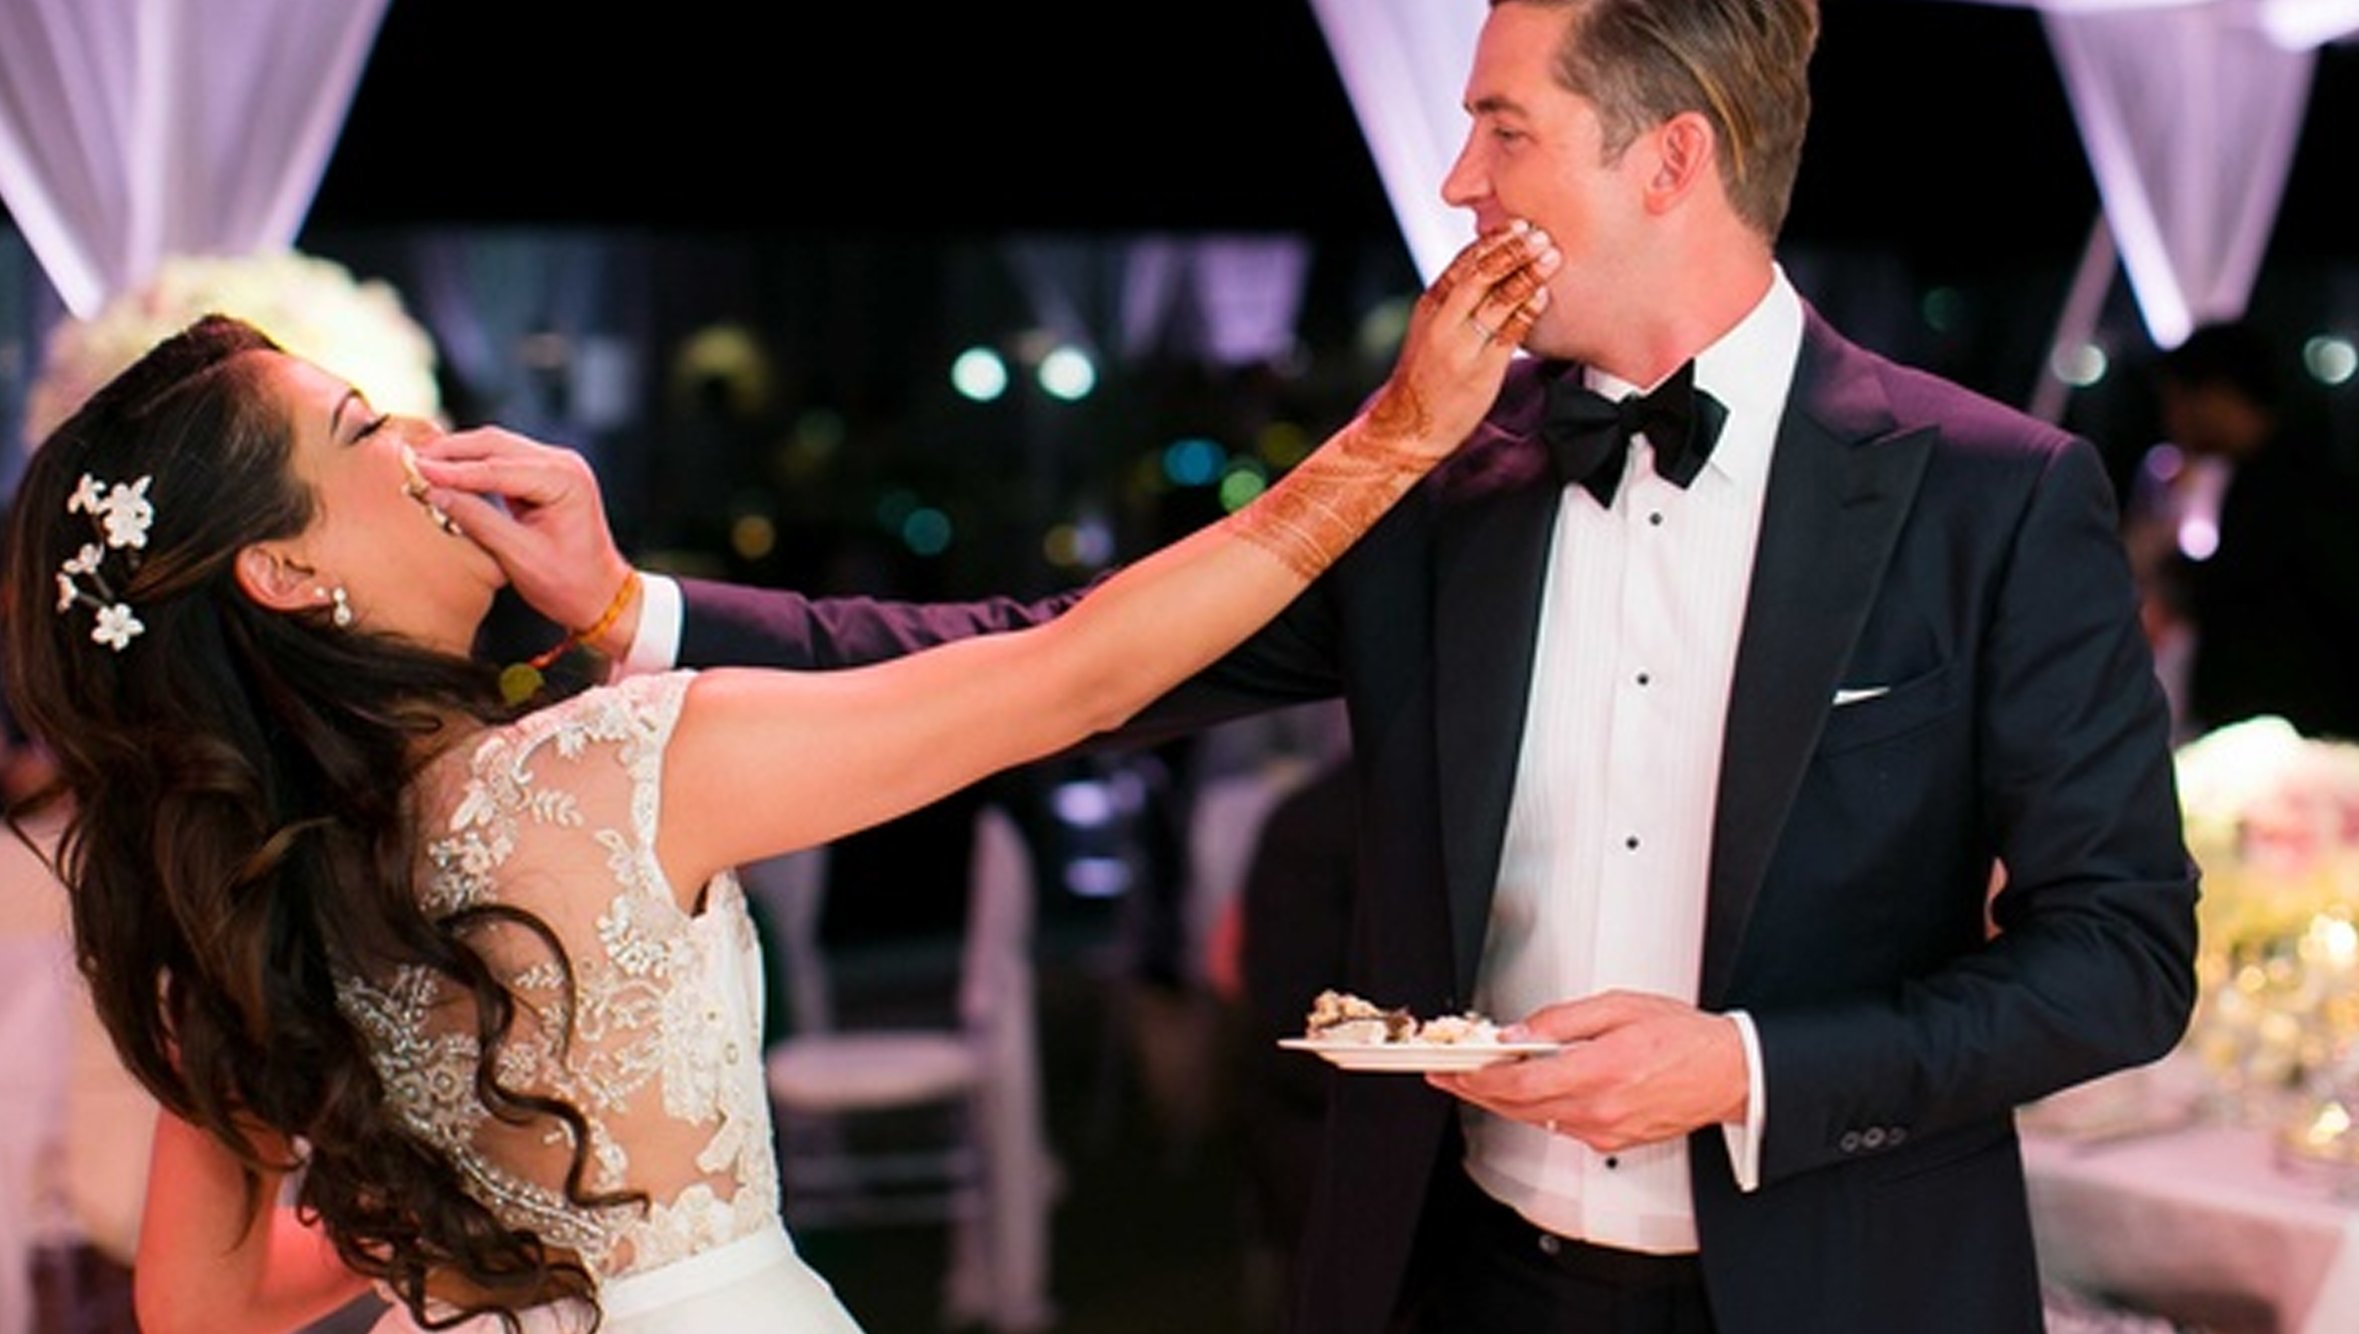
Ah, the great debate! For all the type A people out there, I’m sure you can appreciate this question. This really hits home for me because, boy, was it a pending concern during my wedding planning process! Now you may think, “who cares”? If you’re saying that to yourself, you can probably spare yourself by not reading this blog entry. However, if you are someone who has extreme attention to detail, you will appreciate my story and the advice I have to offer.
I was cutting one of my client’s hair, explaining to her my planning process thus far, when we began talking about my wedding gown. She asked me, “Are you doing ivory or white for the mens’ shirts?” I quickly replied: “Wait, what?” I have already over-analyzed every detail of my wedding at this point and now this is being brought to my attention? She explained that she used to work for a Men’s Warehouse and, with her dress being ivory, opted for ivory shirts for her groomsmen. Ok, simple enough; I’ll tell the guys to get ivory shirts. WRONG! It was going to entail a lot more than that.
I accompanied my fiancé to his initial alteration appointment at a custom suit store. I spoke with the salesmen there and told them the advice my client had given me and they said, “Oh not a problem, when the groomsmen rent their tuxedos have them get the lightest ivory shirt they carry.” Unfortunately, this was horrible advice. Unbeknownst to me, there are a million different shades of ivory ranging from dark to light and all consisting of various undertones! The likelihood that there wouldn’t be 50 shades of ivory is slim. So, I began researching online, only to find a number of articles stating whether or not they cared about white vs. ivory. I couldn’t find any information as to where or how I would obtain shirts to perfectly compliment my gown.
One night I was perusing the internet and found a photo of Ryan Gosling in an ivory tuxedo jacket. Not only was I pleased to come across Ryan Gosling, but equally pleased to see a man in an ivory jacket. My fiancé had told me that his grandfather had done this look as well; Ivory tuxedo jacket with black tuxedo pants. Could this solve the entire issue? My fiancé was excited that his initial desire to sport this look was now possible.
However, just when I discovered how hard it was to find ivory shirts, I soon learned that finding an ivory jacket is an even more difficult feat! Shortly thereafter, I learned that the only way to get an ivory shirt—especially tone specific—is to go the custom route. This can be extremely difficult financially for some of the members of your wedding party. If you have groomsmen from out of state this can also become especially challenging, as they are not only spending money traveling to and from your wedding, but also spending time to get measured and return that information to you. At this point, we were pleased that we only needed to find an ivory jacket.
My fiancé and I tried our luck at a few spots along Newbury St. only to find that there were either very few ivory options or that they really couldn’t customize the jacket at all. Despite our bad luck thus far, the third time really was a charm. We were able to find a fabulous place called “9tailors.” They had a plethora of ivory options, whether they be shirts or jackets. We had 7-8 different swatches to choose from for the jacket and were able to match it perfectly to my dress. There wasn’t a customizable feature that they didn’t offer. Finally! One more wedding detail checked off the list. Fellow brides know how nice it is to check tasks off the list.
Now, whether ivory or white shirts and jackets really matter is completely subjective. Just know that the only way to truly match your groom is to go the custom route. Is this headache worthwhile? For me it was, and now I’m confident we will look amazing on our big day.
“The difference between something good and something great is attention to detail.
Charles R. Swindoll”
read full post >
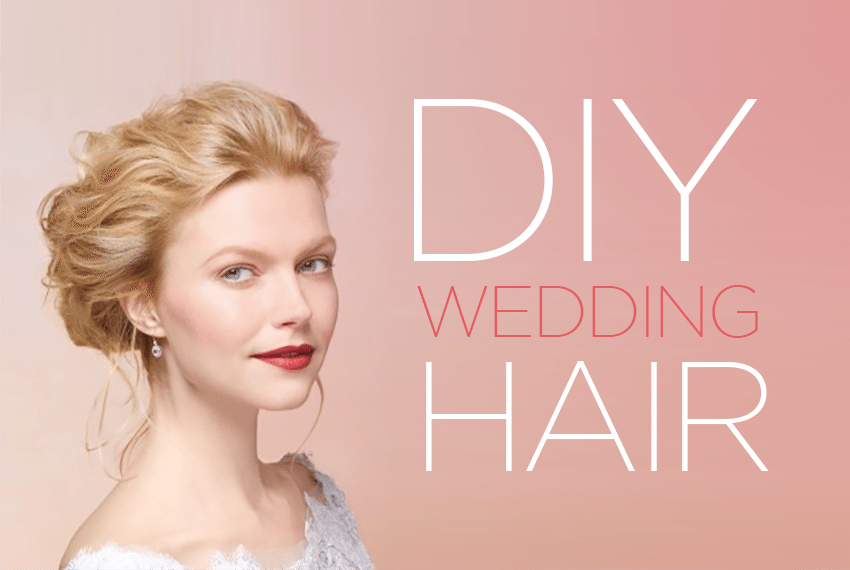
Attempting to do your own hair on your wedding day is not for the faint of heart. It can be a real struggle trying to get your hair to cooperate on a normal given day, let alone on a momentous day such as your wedding. Lucky for you, as a hairstylist who has seen it all, I have a few tricks up my sleeve!
First, you need to have your hair properly prepped. As I had mentioned in my “DIY Wedding Makeup” blog, you can’t possibly create a masterpiece without proper preparation. Now, this extends past good products and tools. You need to make sure your hair is healthy and well maintained. I advise my clients, shortly after engagement, to get on a strict hair care regimen. This starts with scheduling regular trims. I get it—you want your hair to be as long as possible; however, without proper maintenance you will be stunting your growth and left with lackluster locks. Next, stock up on good, professional products. Do your research, consult your hairstylist, and find a shampoo, conditioner, mask, and products that will aid in your hair health. My favorite strengthening treatment is “Olaplex Hair Protector No.3.” This miracle product will give you quick, amazing, healing results. Lastly, you will want to make sure you have products that will help prep your hair the day of your wedding. You need light, strong products that will aid in keeping your style fresh throughout the day and night. My favorite products to use on updos are Bumble and Bumble’s “Thickening Dryspun Finish”, Sebastian’s “Shaper Plus” hairspray and Rusk’s “Thermal Shine Spray.” Products can be very subjective but these three products are my personal staples.
So we have the hair in prime condition and we have established the products we would like to use. What now? Proper tools and styling! Setting the hair is a great method of preparation because it gives the hair volume, bounce, shine, and pliability. This technique has been around since the 60’s, and for good reason. If your hair is thick and coarse, I advise showering the evening before, giving yourself a good blow dry before bed, and setting your hair in the morning. If your hair is finer in texture, shower the morning of your wedding, blow-dry your hair, and set right after. Pay attention to how you place the rollers because the way you set them is the way they will curl. Once your rollers have set for an ample amount of time (at least 30 minutes or so), remove the rollers and, with an iron, curl any pieces that may have gone array. Regardless of whatever style you choose, these preliminary steps are key unless you are going for a straight or slicked style.
The best type of updo to attempt on your own is a soft, romantic, and curled style. Anything overly intricate or precise is inviting disaster. Besides, lived-in, soft looks are in, so why not take advantage? My favorite tool for such a look is a hair donut.
These come in various sizes and colors and provide great stability within the updo. Once your hair is curled and properly prepped, make a small pony tail in the area you would like your bun. Slide the donut form over the pony tail and anchor the bun in with bobby pins. The smaller the pony tail, the more hair that is left out. The more hair that is left out, the larger your bun will appear. You may opt for a low, high, or side bun. From here the process is quite easy. Strategically anchor the curls piece by piece with hairpins into the bun. It is helpful to use a mirror and check periodically to ensure your style is coming out as desired. This process can be slightly altered to create a multitude of looks.
Prep, set, and go! It’s really just as easy as that. Take your time and have a realistic end goal. Doing your own wedding hair isn’t easy, but knowing how to go about it is the first step to success! Practice, practice, practice and you’ll be a pro come your wedding day.
read full post >
Reading that title out loud makes me a bit squeamish, but hey—who am I to judge? Maybe you’re budget doesn’t extend to hiring a professional; maybe you’re really talented with makeup, or maybe you have had a bad experience. No matter the reason! I am going to give you every tip possible to ensure your DIY wedding makeup is flawless.
First things first: Skin prep. You wouldn’t try to paint the Mona Lisa on a flawed canvas, so don’t attempt to do your makeup on poor skin. Consult your esthetician and get your skin regime down to a science. Moisturizers and primers will also play a role in makeup application and longevity. I would recommend a face, eye, and lip primer. Some of my favorites include Laura Mercier: “Hydrating Foundation Primer”, MAC: “Prep and Prime” and Smashbox: “Photo Finish Primer.”
What kind of makeup should you buy? Well, this is dependent upon the makeup you may or may not already have. If you have makeup that you love that perfectly matches your skin tone, then don’t fight a good thing. However, it is important to look for products that are considered “long wear” or “waterproof.” You need products that are designed to be long lasting and that will get you through a day of hugs, sweat, and tears. MAC offers “Prolongwear” products that will stand the test of time. Avoid SPF or high definition products that can produce a ghostly look when photographed. It is also important to know which colors are complimentary to your skin tone. Consider consulting makeup artists to ensure you’re the makeup shades you are choosing are suitable. Another trick that goes a long way is using individual lashes. This will give a more natural appearance, allowing you to look and photograph better.
Application, Application, Application! I cannot stress enough how important it is to apply the makeup properly. You can purchase the most expensive, beautiful makeup but, without the proper tools and techniques, your makeup could be a total flop. One of my favorite tools is a beauty blender. Using this damp sponge will give the foundation a soft finish that will not cake. One of the biggest mistakes is not properly applying and blending your jawline, neck, and arms. For even, clean coverage that photographs well, this is a must.
One of the best pieces of advice I can give is to do your research and allow yourself PLENTY of time to apply your makeup. We aren’t all natural born makeup artists, so without enough knowledge or time this process can lead to far more stress than planned for. Try to research methods that are different from your normal makeup routine. Try techniques such as tight-lining or highlighting. Opting for a more dramatic look than your usual day-to-day will allow you to feel and photograph better. YouTube has a plethora of instructional videos with useful tips that will teach you how to best apply your makeup. When you are on a makeup hunt, go dressed in a white shirt to see how the makeup contrasts. Makeup can look very different based on what we are wearing and what color it is, so save yourself some time and experiment with colors while wearing white.
There is no better way to test your skills than taking photographs! Snap photos under various lighting (natural, fluorescent, candlelit, etc.). This will put any “what ifs” to rest and leave you feeling assured that your wedding makeup will be great. If you do your homework, buy the proper products, take your time, and test out your makeup, there is an excellent chance your wedding makeup will look flawless and professional. Best of luck!
read full post >

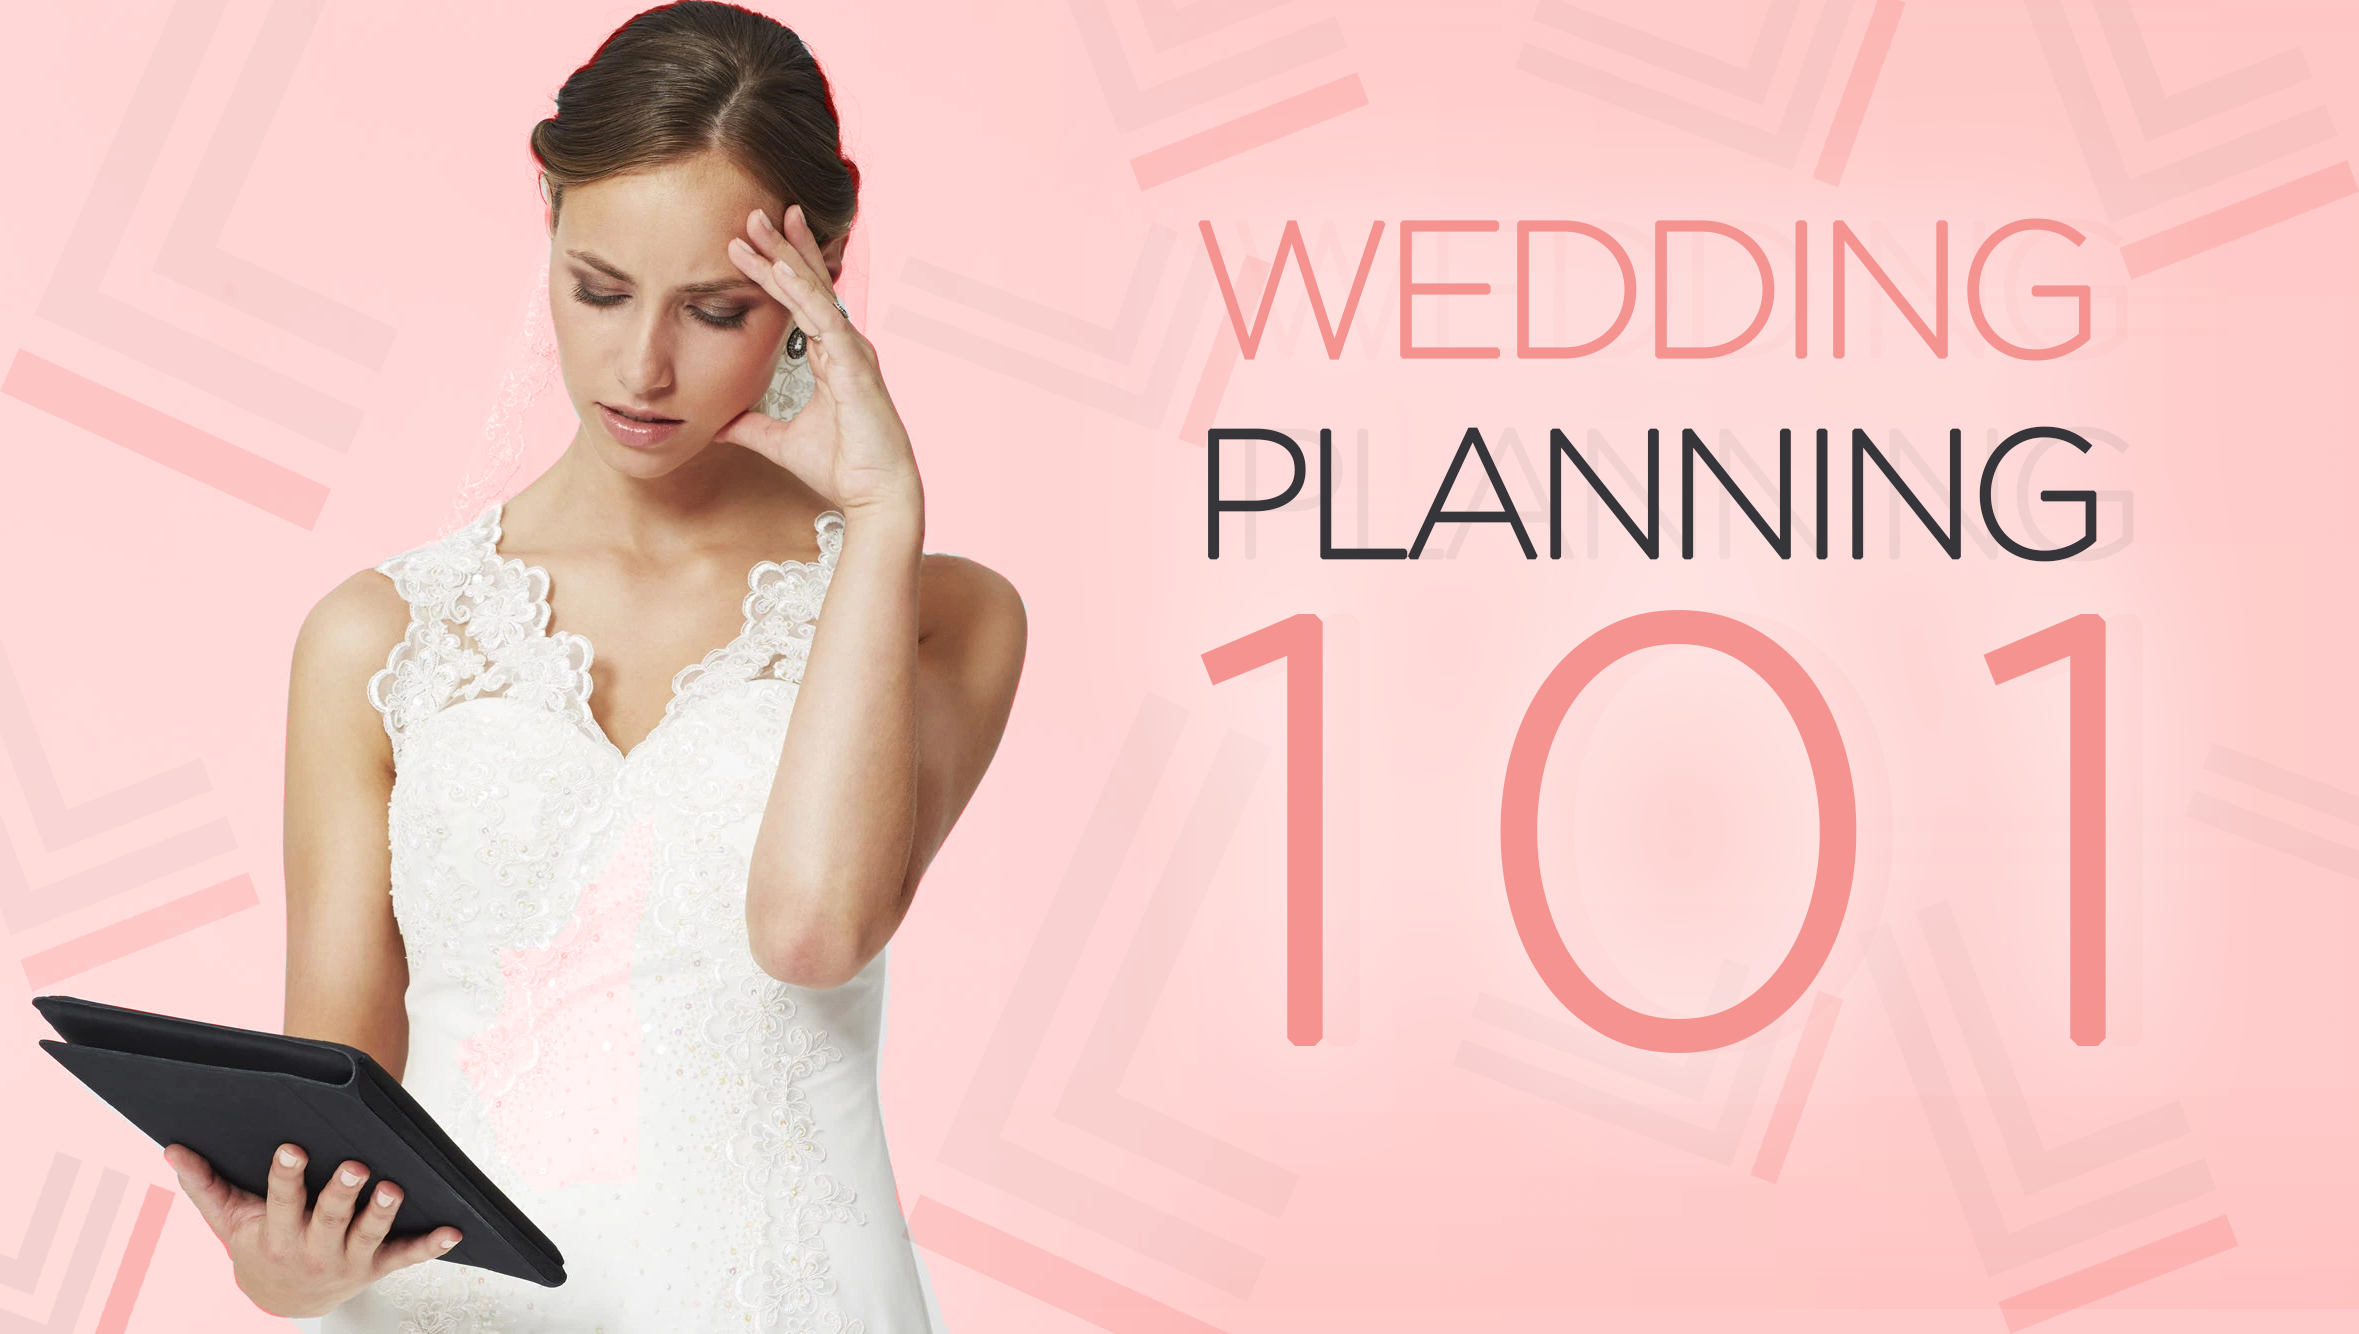
Engagement is a magical time leading up to your wedding. You and your fiancé will get along better than ever and you will find the entire process of planning a wedding to be pure bliss… Said no one ever!
Planning a wedding can be completely overwhelming without the proper knowledge or game plan. In fact the initial planning is where I struggled the most. I didn’t know where to begin! My friends hadn’t gotten married yet, so I found myself scouring the Internet and reading bridal books for answers. After several bridal blogs and “Wedding Planning for Dummies” I began to get a lay of the land. The area I struggled most to understand was how to take my budget and properly allocate it. If I have $75,000 for my wedding, how do I know how much I can spend on the reception? What can I spend on the flowers? How many guests can I invite? The list of questions you have may seem endless. I’m here to help you figure out a financial plan.
Here is a general breakdown of what you should expect your wedding costs to be. Your reception should cost you about half of your entire budget. For instance, if you have a budget of $75,000, try to keep your reception venue to around $35,000 or so. Your ceremony should only cost you about 2 to 3%. Your attire for both the bride and groom should come in somewhere around 8 to 10%, with your flowers and music right around that same percentage. Your photography and videography will cost you about 10-12%. I found this to be one area I was willing to splurge; I made sure to cut costs in other areas to make that happen. Lastly, stationary, wedding rings, parking/transit, and gifts should all come in at about 2-3 % each. An extremely helpful piece of advice I read is to set aside 5% of your budget for things that may come up that you have not prepared for. There is nothing worse than a surprise fee or a part of the wedding you did not account for.
After preparing an outline of your wedding budget, decide where you stand. Can you come in under budget? Or, do you need to save more money to have the wedding you envision? Another helpful piece of advice is to try to squirrel away a certain percentage every month. Cutting back on non-necessities can go a long way. Remember! The longer the engagement the more time you have to save as well.
Wedding prep isn’t easy and at times can be the most daunting of tasks, but once you establish your budget and get your vendors booked you will be well on your way. The more informed you are, the easier it is! I hope this blog serves as a solid foundation for the rest of your journey.
If you found this helpful, please feel free to share this with your friends who are struggling with their wedding planning too… Yikes! <3
read full post >


Bridal + Entourage Hairstyling


