Welcome to the Blog
Explore Blog Posts that showcase our work, our values, and our team
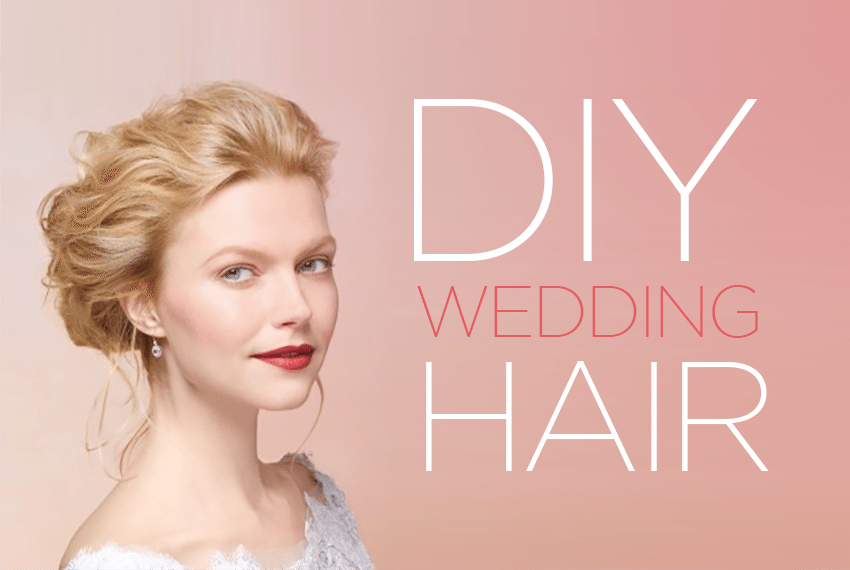
Attempting to do your own hair on your wedding day is not for the faint of heart. It can be a real struggle trying to get your hair to cooperate on a normal given day, let alone on a momentous day such as your wedding. Lucky for you, as a hairstylist who has seen it all, I have a few tricks up my sleeve!
First, you need to have your hair properly prepped. As I had mentioned in my “DIY Wedding Makeup” blog, you can’t possibly create a masterpiece without proper preparation. Now, this extends past good products and tools. You need to make sure your hair is healthy and well maintained. I advise my clients, shortly after engagement, to get on a strict hair care regimen. This starts with scheduling regular trims. I get it—you want your hair to be as long as possible; however, without proper maintenance you will be stunting your growth and left with lackluster locks. Next, stock up on good, professional products. Do your research, consult your hairstylist, and find a shampoo, conditioner, mask, and products that will aid in your hair health. My favorite strengthening treatment is “Olaplex Hair Protector No.3.” This miracle product will give you quick, amazing, healing results. Lastly, you will want to make sure you have products that will help prep your hair the day of your wedding. You need light, strong products that will aid in keeping your style fresh throughout the day and night. My favorite products to use on updos are Bumble and Bumble’s “Thickening Dryspun Finish”, Sebastian’s “Shaper Plus” hairspray and Rusk’s “Thermal Shine Spray.” Products can be very subjective but these three products are my personal staples.
So we have the hair in prime condition and we have established the products we would like to use. What now? Proper tools and styling! Setting the hair is a great method of preparation because it gives the hair volume, bounce, shine, and pliability. This technique has been around since the 60’s, and for good reason. If your hair is thick and coarse, I advise showering the evening before, giving yourself a good blow dry before bed, and setting your hair in the morning. If your hair is finer in texture, shower the morning of your wedding, blow-dry your hair, and set right after. Pay attention to how you place the rollers because the way you set them is the way they will curl. Once your rollers have set for an ample amount of time (at least 30 minutes or so), remove the rollers and, with an iron, curl any pieces that may have gone array. Regardless of whatever style you choose, these preliminary steps are key unless you are going for a straight or slicked style.
The best type of updo to attempt on your own is a soft, romantic, and curled style. Anything overly intricate or precise is inviting disaster. Besides, lived-in, soft looks are in, so why not take advantage? My favorite tool for such a look is a hair donut.
These come in various sizes and colors and provide great stability within the updo. Once your hair is curled and properly prepped, make a small pony tail in the area you would like your bun. Slide the donut form over the pony tail and anchor the bun in with bobby pins. The smaller the pony tail, the more hair that is left out. The more hair that is left out, the larger your bun will appear. You may opt for a low, high, or side bun. From here the process is quite easy. Strategically anchor the curls piece by piece with hairpins into the bun. It is helpful to use a mirror and check periodically to ensure your style is coming out as desired. This process can be slightly altered to create a multitude of looks.
Prep, set, and go! It’s really just as easy as that. Take your time and have a realistic end goal. Doing your own wedding hair isn’t easy, but knowing how to go about it is the first step to success! Practice, practice, practice and you’ll be a pro come your wedding day.
read full post >
Reading that title out loud makes me a bit squeamish, but hey—who am I to judge? Maybe you’re budget doesn’t extend to hiring a professional; maybe you’re really talented with makeup, or maybe you have had a bad experience. No matter the reason! I am going to give you every tip possible to ensure your DIY wedding makeup is flawless.
First things first: Skin prep. You wouldn’t try to paint the Mona Lisa on a flawed canvas, so don’t attempt to do your makeup on poor skin. Consult your esthetician and get your skin regime down to a science. Moisturizers and primers will also play a role in makeup application and longevity. I would recommend a face, eye, and lip primer. Some of my favorites include Laura Mercier: “Hydrating Foundation Primer”, MAC: “Prep and Prime” and Smashbox: “Photo Finish Primer.”
What kind of makeup should you buy? Well, this is dependent upon the makeup you may or may not already have. If you have makeup that you love that perfectly matches your skin tone, then don’t fight a good thing. However, it is important to look for products that are considered “long wear” or “waterproof.” You need products that are designed to be long lasting and that will get you through a day of hugs, sweat, and tears. MAC offers “Prolongwear” products that will stand the test of time. Avoid SPF or high definition products that can produce a ghostly look when photographed. It is also important to know which colors are complimentary to your skin tone. Consider consulting makeup artists to ensure you’re the makeup shades you are choosing are suitable. Another trick that goes a long way is using individual lashes. This will give a more natural appearance, allowing you to look and photograph better.
Application, Application, Application! I cannot stress enough how important it is to apply the makeup properly. You can purchase the most expensive, beautiful makeup but, without the proper tools and techniques, your makeup could be a total flop. One of my favorite tools is a beauty blender. Using this damp sponge will give the foundation a soft finish that will not cake. One of the biggest mistakes is not properly applying and blending your jawline, neck, and arms. For even, clean coverage that photographs well, this is a must.
One of the best pieces of advice I can give is to do your research and allow yourself PLENTY of time to apply your makeup. We aren’t all natural born makeup artists, so without enough knowledge or time this process can lead to far more stress than planned for. Try to research methods that are different from your normal makeup routine. Try techniques such as tight-lining or highlighting. Opting for a more dramatic look than your usual day-to-day will allow you to feel and photograph better. YouTube has a plethora of instructional videos with useful tips that will teach you how to best apply your makeup. When you are on a makeup hunt, go dressed in a white shirt to see how the makeup contrasts. Makeup can look very different based on what we are wearing and what color it is, so save yourself some time and experiment with colors while wearing white.
There is no better way to test your skills than taking photographs! Snap photos under various lighting (natural, fluorescent, candlelit, etc.). This will put any “what ifs” to rest and leave you feeling assured that your wedding makeup will be great. If you do your homework, buy the proper products, take your time, and test out your makeup, there is an excellent chance your wedding makeup will look flawless and professional. Best of luck!
read full post >

Engagement is a magical time leading up to your wedding. You and your fiancé will get along better than ever and you will find the entire process of planning a wedding to be pure bliss… Said no one ever!
Planning a wedding can be completely overwhelming without the proper knowledge or game plan. In fact the initial planning is where I struggled the most. I didn’t know where to begin! My friends hadn’t gotten married yet, so I found myself scouring the Internet and reading bridal books for answers. After several bridal blogs and “Wedding Planning for Dummies” I began to get a lay of the land. The area I struggled most to understand was how to take my budget and properly allocate it. If I have $75,000 for my wedding, how do I know how much I can spend on the reception? What can I spend on the flowers? How many guests can I invite? The list of questions you have may seem endless. I’m here to help you figure out a financial plan.
Here is a general breakdown of what you should expect your wedding costs to be. Your reception should cost you about half of your entire budget. For instance, if you have a budget of $75,000, try to keep your reception venue to around $35,000 or so. Your ceremony should only cost you about 2 to 3%. Your attire for both the bride and groom should come in somewhere around 8 to 10%, with your flowers and music right around that same percentage. Your photography and videography will cost you about 10-12%. I found this to be one area I was willing to splurge; I made sure to cut costs in other areas to make that happen. Lastly, stationary, wedding rings, parking/transit, and gifts should all come in at about 2-3 % each. An extremely helpful piece of advice I read is to set aside 5% of your budget for things that may come up that you have not prepared for. There is nothing worse than a surprise fee or a part of the wedding you did not account for.
After preparing an outline of your wedding budget, decide where you stand. Can you come in under budget? Or, do you need to save more money to have the wedding you envision? Another helpful piece of advice is to try to squirrel away a certain percentage every month. Cutting back on non-necessities can go a long way. Remember! The longer the engagement the more time you have to save as well.
Wedding prep isn’t easy and at times can be the most daunting of tasks, but once you establish your budget and get your vendors booked you will be well on your way. The more informed you are, the easier it is! I hope this blog serves as a solid foundation for the rest of your journey.
If you found this helpful, please feel free to share this with your friends who are struggling with their wedding planning too… Yikes! <3
read full post >
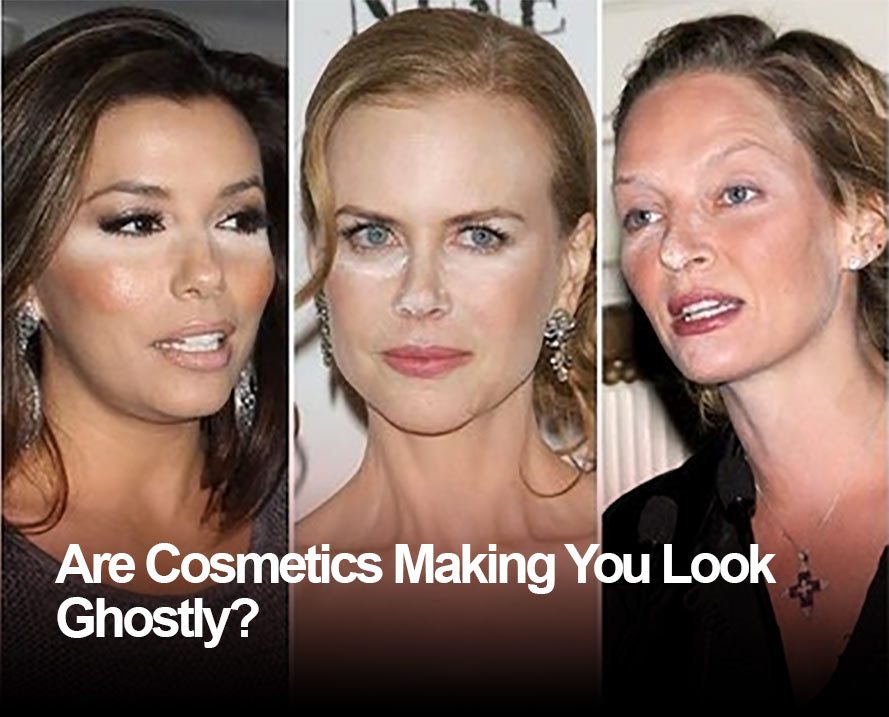
Have you ever gone out on the town, taken a few pictures and noticed that you have white circles under your eyes? I certainly have, leaving me to wonder: was it my primer? My concealer? My setting powder? Don’t get me wrong; I enjoy a bright eye, but the white raccoon look is unacceptable, especially when preparing for my wedding day. With my special day quickly approaching, I decided to do some serious research. Here is what I found.
It turns out this ghostly look can be caused by what we call a “flashback.” So what is that? Foundations or concealers that are “illuminating” can cause this effect due to their light reflecting particles. Brides—stay away from overly shimmery shadows, intense highlighters, and glitter!
But wait, there’s more! Mineral foundations and powders are also a no-no. These products contain a large amount of silica and silver mica. One product in particular that you should avoid is: “Makeup Forever HD Powder.” This powder is white and does not apply clear. It is really quite simple; WHITE reflects light!
SPF (Sun Protection Factor) products can also cause flashback. It is best to avoid primers, moisturizers, and foundations that contain SPF ingredients. The culprits within the SPF are zinc oxide and titanium dioxide, substances of a white, opaque nature. If you insist on using a SPF based product, be sure to use one with a rating of SPF 15 or lower to avoid compromising your photos.
So, at this point you may be wondering what type of makeup IS appropriate when being photographed. My personal favorites are “Makeup Forever Mat Velvet” foundation, as well as “MAC Mineralized Skin Finish Natural” concealer. Ultimately, the key to avoiding the dreaded flashback is to simply avoid makeup products that are illuminating, mineral based, or contain SPF when you know you’ll be having your picture taken.
At last! The mystery is solved! So, whether you are a concerned bride to be or simply looking to improve your Saturday night photos, you now have the tools necessary to look your best.
If you found this article helpful, please share it with your friends <3.
read full post >
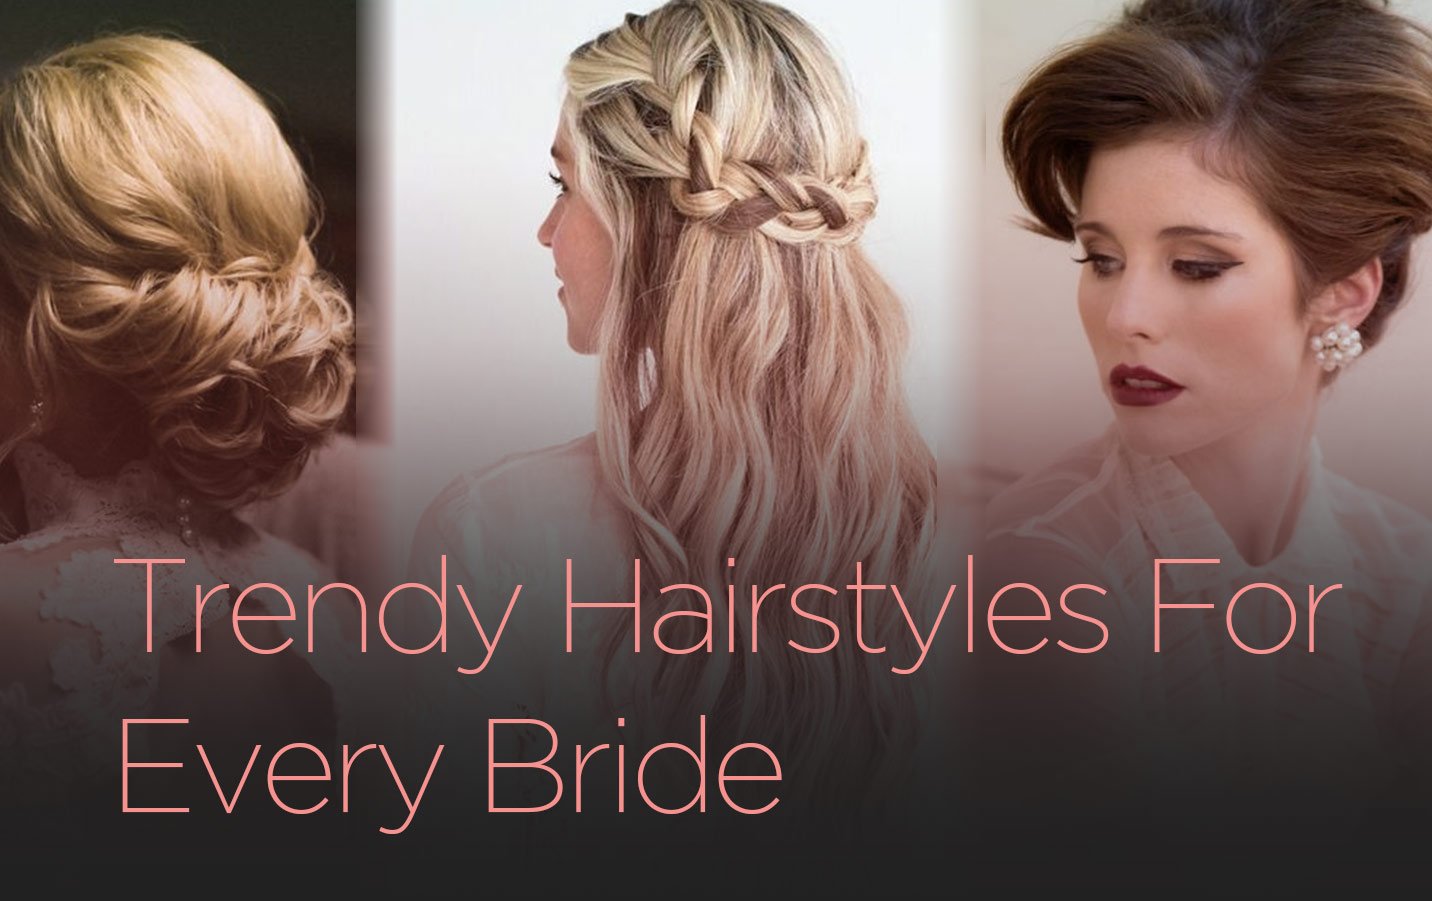
In today’s modern world there are a multitude of different types of weddings. No matter what the theme, every bride wants to represent her most beautiful self. This involves finding a style that is well suited and stylish. I have taken every kind of bride from classic, bohemian, beachy, rustic and vintage and provided you with today’s on-trend hairstyles.
The Classic Bride
You are the type of girl who values tradition. You seek theme in color versus details and are more than likely serving a tiered wedding cake versus cupcakes. Believe it or not, this actually tells quite a bit about your preference in hairstyles. My guess is that you are gravitating towards something sleek and timeless, but still want to feel stylish. Below are some of my favorite hairstyles that encompass both class and style.


The Bohemian Bride
If you have chosen to have a “boho chic” wedding, you may describe your style as eclectic and whimsical with an artistic flair. This anything goes type of theme allows for serious creative expression! Trendy looks for bohemian brides include headbands/flower wreaths, mix & match details, and earthy inspiration. Here are some of my favorite trendy, boho looks…


The Beachy Bride
Maybe you grew up on the beach, or maybe you just enjoy the wind in your hair and toes in the sand. You are laid back, calm and centered. Your wedding details include earth tones and natures gifts. Being more relaxed in nature, you probably prefer your hair relaxed as well. Lived in looks with simple detailing best suit you. Here are some examples of looks that are not only comfortable, but chic as well.


The Rustic Bride
Nature and farm elements inspire your theme. Your colors consist of earth tones and your décor has an abundance of wood and stone. Your wedding is probably outdoors in a warmer environment. These components also translate into the theme of your overall look. Your hair should reflect an earthy, less manicured feel. Check out the examples below of hairstyles that fit this theme, but still leave you feeling beautiful and fashionable.


The Vintage Bride
Vintage lovers typically have a love for femininity, muted colors, and lace. Delicate flowers, linen, and burlap are all common denominators. This antique vibe is beautiful and so are the associated hairstyles. Embracing vintage styles has become a modern fad. Below are my absolute favorite styles that represent not only a past time period, but now the present.


There are trendy hairstyles for every type of bride. No matter what vision you are trying to recreate, there is a style that will suit you, your theme, and today’s fashion. Search no further, as I have provided you with today’s hottest looks for every wedding theme.
read full post >
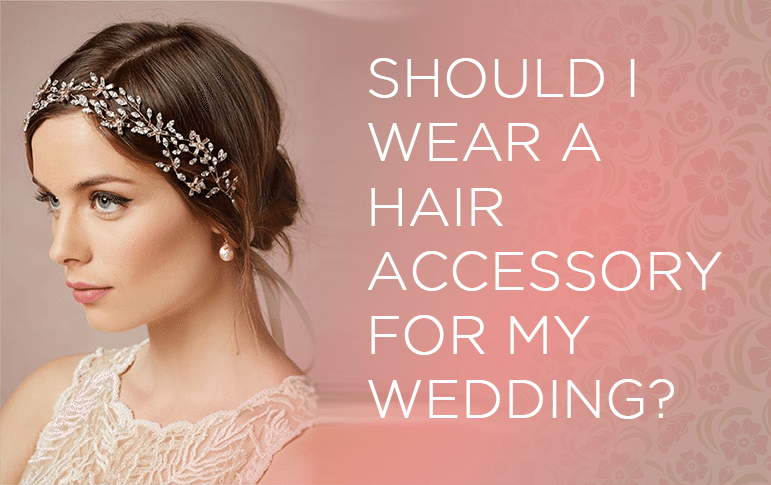
As a little girl growing up, I loved playing dress up. I loved headbands, tiaras, anything ornate! I’m definitely what you would consider a “girly girl.” As I’ve grown, I would like to think my taste has matured beyond how much jewelry I can pile on. As I approach my wedding day, I find myself wondering how I will wear my hair and whether an accessory is appropriate. Deciding whether a hair accessory is suitable requires more thought than you would think! Here are some helpful tidbits to help you decide if a hair embellishment is right for you.
Choose which hairstyle you want in advance.
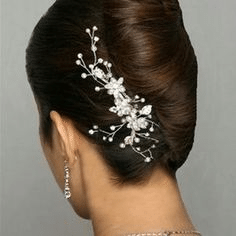
Whether you choose to wear your hair up or down will heavily influence which accessory, if any, is appropriate for you. If you are choosing a French twist, you may decide a hair broach is the perfect way to personalize a classic style. If you are wearing your hair down, you may consider a simple or statement headband to accentuate your style. I would highly recommend choosing your wedding hairstyle before delving into the many accessories retailers have to offer.
Accentuate your gown.
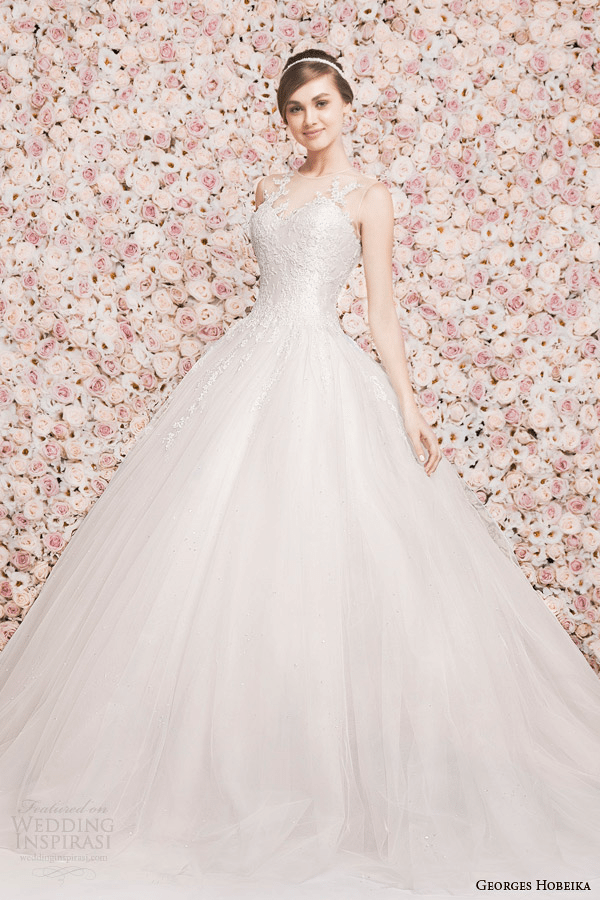
The idea behind any accessory is to highlight your beauty. You do not want to choose an accessory that will dominate your dress. I would advise you to stay away from wearing a hair accessory if your gown has heavy embellishment or a lot of intricate detail. You may want to consider wearing one however if your gown is more simplistic in nature. This does not necessarily mean the style of the dress is simple, but rather the texture. For example, if you are wearing a satin ball gown with little to no embellishments, you may consider opting for some sort of hair ornament.
Accessories should be harmonious.
Decide what jewelry you are wearing before deciding on a hair accessory. Your accessories should work together in harmony rather than distract. Are your accessories more simplistic in nature? Are you choosing statement earrings or a bold necklace? The earrings and or necklace that you choose heavily influence whether a hair accessory is appropriate.
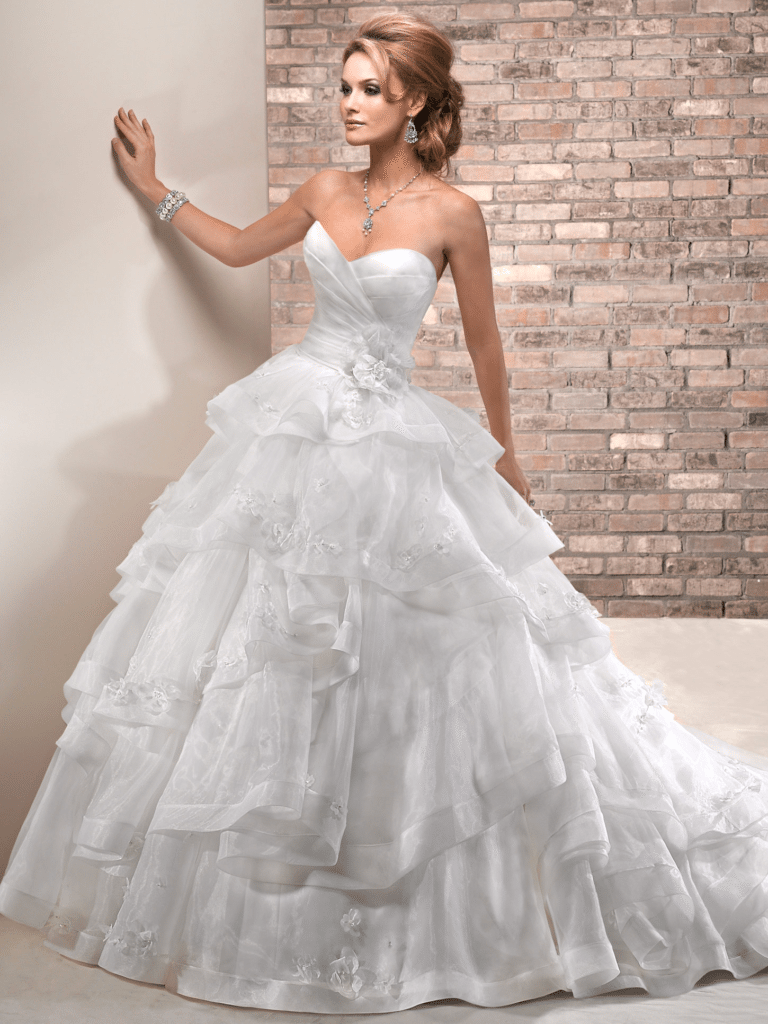
Your wedding is a very important day, so it’s natural to question every last detail. Save yourself time and energy by brainstorming whether a hair accessory will work. What does your hair look like? Does your gown have a great amount of detail? Which accessories have you already chosen? Answer these few questions and you’ve checked off one more detail on your wedding to-do list.